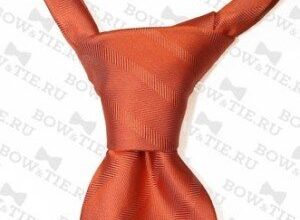
The Windsor knot was never used by the Duke of Windsor, but it always leaned towards straight triangular knots. In fact, the Windsor knot was invented by a community of people who wanted to emulate the Duke's style. The knot is an absolutely symmetrical triangle shape with a solid base.
 Windsor Knot
Contents
Suitable for collared shirts:
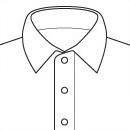
Average
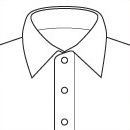
Wide
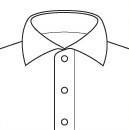
With soft ends
How to Tie a Tie in Pictures: The Windsor Knot
MEN'S TIES IN OUR ONLINE STORE
GO TO STORE
Video how to tie a tie with a Windsor knot
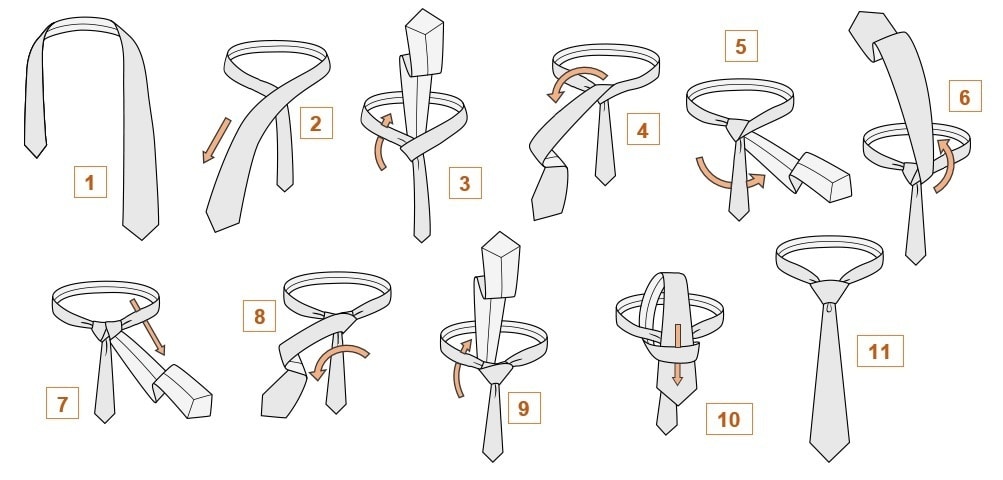
Instructions on how to tie a tie with the Windsor knot
- Place the seams inward over your tie. The wide end is on the right and the narrow end is on the left. The small end should be extended to a level just above your navel (this value may vary depending on your height, length and thickness of the tie). We will work with the wide end of the tie.
- Position the wide end with the bumpy end, forming a crosshair.
- Pull the wide end towards the neck and thread over the collar (tie) that has formed.
- After wrapping the collar of the tie once, pull it to the left.
- Run underneath the narrow end of the tie from left to right.
- Pull the wide end towards the neck again and pass the collar (tie) over it.
- Stretching out the wide end, pull it to the right.
- Form the front of the tie knot by horizontally shifting the wide end from right to left.
- Pull the wide end towards the neck and pass through the collar (tie).
- Pass through the loop on the front of the knot that formed in step 8.
- Pull the wide end downward, tightening slightly. Adjust the resulting knot so that it fits evenly into your collar.