The Kelvin knot was named after Lord Kelvin (William Thomson, 1824-1907), a physicist and mathematician who is widely known as the inventor of the Kelvin scale. This knot is a representative of simple knots, and is a bit like the “Quarter” knot. The last step in tying, as in the Prince Albert knot, can be done in 2 ways, forming a “Classic Kelvin” or “Diagonal Kelvin”.

Contents
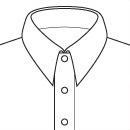
Suitable for collared shirts:
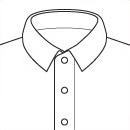
Small collar
Classical
Average
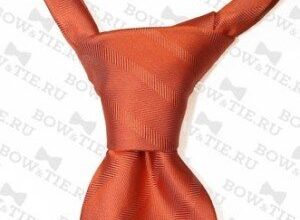
How to Tie a Tie in Pictures: Kelvin Knot
MEN'S TIES IN OUR ONLINE STORE
GO TO STORE
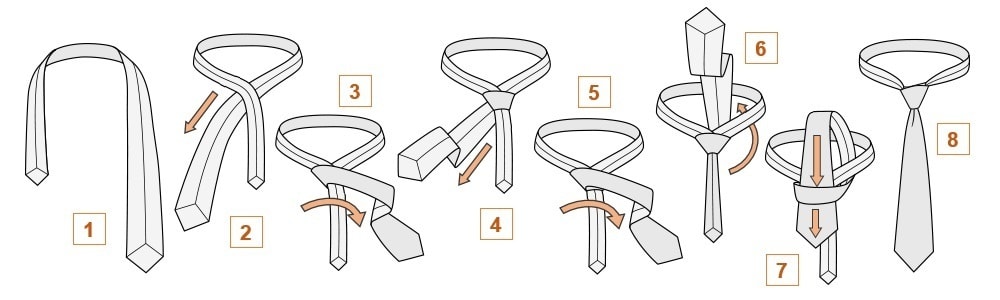
Instructions on how to tie a tie with a Kelvin knot
- Place the outside of the tie over yourself so that the seams are visible. The wide end is on the right and the narrow end is on the left. The tip of the small end should be extended to a level just above your navel (this value may vary depending on your height, length and thickness of the tie). We will work with the wide end of the tie.
- Place the narrow end over the wide end, forming a crosshair.
- Wrap the narrow side with the wide end of the tie from left to right.
- Next, wrap the narrow end under the wide end of the tie from right to left.
- Form the front of the tie knot by sliding the wide end horizontally.
- Pull the wide end towards the neck (should be on the right hand) and pass it under the collar (tie) formed.
- Pass through the loop on the front of the knot that you formed in step 5.
- Pull the wide end downward, tightening slightly. Adjust the resulting knot so that it fits evenly into your collar.