Every time you go to work or find yourself in a crowded place, willingly not willingly, you pay attention to men who are walking around in a crumpled shirt. They wear expensive clothes, fashion brands, but all this fades when a person is sloppy. This is especially common among junior office workers who went to university yesterday. It's good if mom knows how to iron a shirt properly, and someone has a wife who keeps her husband clean. However, there are men who have neither the knowledge nor the desire to iron shirts, believing that this is a waste of time. Is it so?
The fact is that both young and adult men, for the most part, do not know how to iron a shirt properly. There is nothing shameful in this, however, many hide behind excuses, they say this is not a man's business and in general nothing is visible under the jacket. But a man must be self-sufficient and be able to iron not only a shirt, but also sew on a button, if necessary. And by the way, not an ironed shirt, as you can see from under the lapels of the jacket, especially the collar of the shirt.
The importance of a business man's neatness is difficult to question when it comes to interviewing a new job or meeting a business partner. Remember the saying: 'they are greeted by clothes, but they are seen off according to their minds'? By having a neat appearance, you demonstrate your discipline and order. If even your appearance suggests that you do not pay attention to even such simple trifles and do not take care of yourself, then who wants to deal with you?
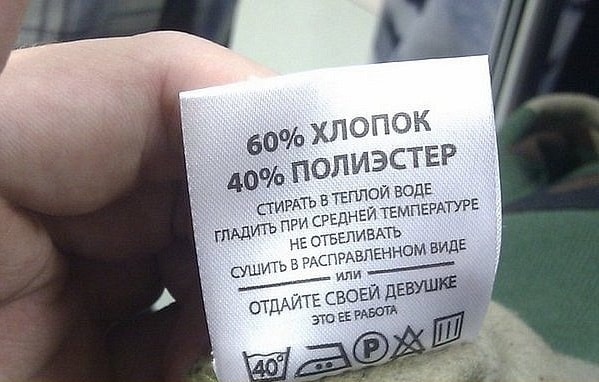
 Give it to your girl, it's her job
In fact, ironing a shirt is not as difficult as it seems at first glance. With a modest amount of knowledge, you can iron one shirt in less than 5 minutes. If my arguments convince you, then I suggest that you study a few recommendations on how to iron a shirt properly.
How to iron a shirt
The first thing to do is turn the shirt inside out. This way you will get the best results, especially on thick cotton shirts.
 Gray patterned shirt by Henderson
BUY AT PARTNER STORE
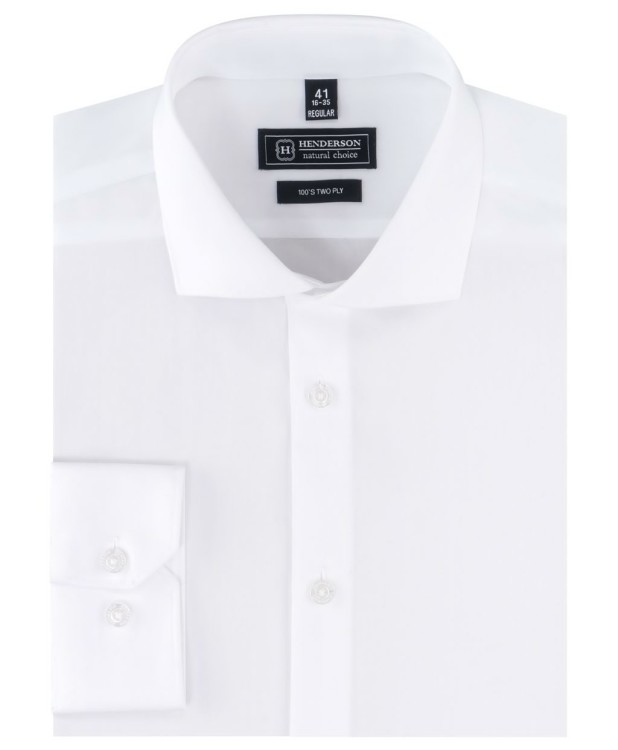 Classic white shirt from Henderson
BUY AT PARTNER STORE
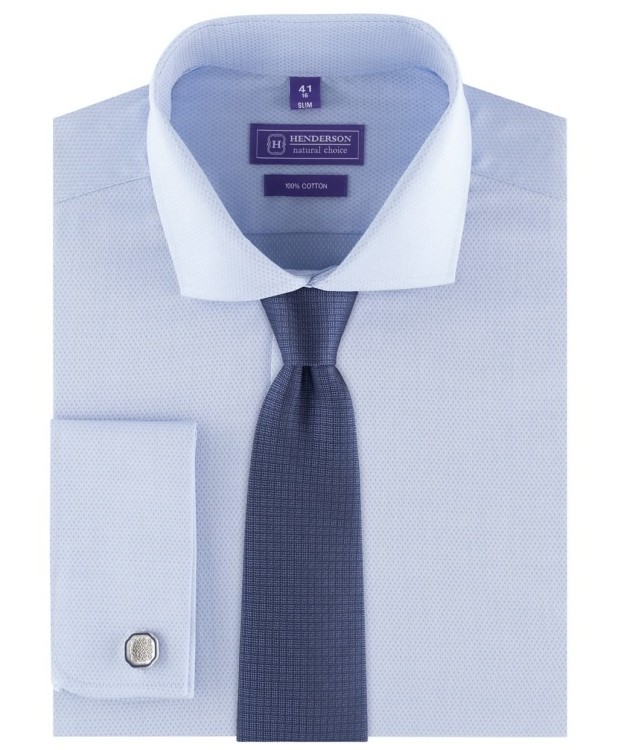 Plain blue shirt from Henderson
BUY AT PARTNER STORE
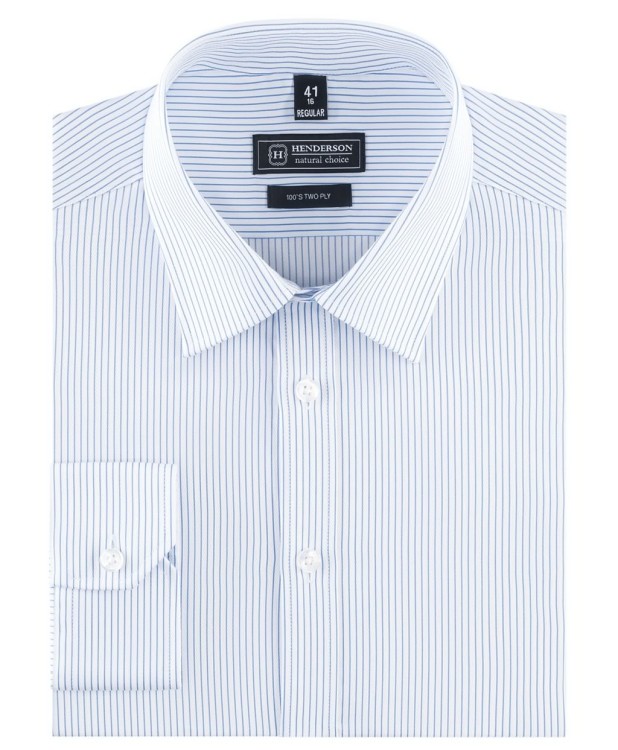 Henderson White Pinstripe Shirt
BUY AT PARTNER STORE
Read the label that has the recommended temperature for the iron (iron icon, no dot). If there is no such icon, then look at the type of fabric and set the temperature on the iron, according to the manual from the iron manufacturer. As a rule, on irons, the temperature regime is indicated from 1 point to 3 points. Sometimes the type of fabric is signed next to one point or another.
Most shirts are made from cotton or cotton with the addition of another type of fabric. Make sure your shirt is free of synthetics, or you could burn your shirt from the hot iron. If there is no shortcut, try starting at a low temperature. If the folds are not ironed well, turn up the temperature slightly. As soon as you feel that the iron starts to slip poorly, immediately stop ironing and reduce the temperature of the iron.
 Moisten the shirt before ironing
For the convenience of ironing, I recommend not to dry the shirt too much, but to leave it slightly damp. Not wet, so that it drips, but a little wet, as if you were caught in the rain a couple of hours ago and almost dried out. Believe me, the shirt will be much easier to iron. From my experience I can add that after washing the next batch of shirts (there are usually 5 – 6 of them), I let them dry all night, and in the morning I put them in a pile a little wet and try to iron them for 2-3 days. During this time, they do not dry out completely and can be easily stroked over the weekend. If this is too difficult or inconvenient for you, just spray water directly while ironing the shirt.
Immediately after ironing the shirt, hang the back of a chair or immediately on a hanger in the closet. Don't throw your ironed shirt on the sofa or anywhere else, or ruin your work.
Next, I will talk about the method I use myself. There are other ways on the Internet, but personally they are not convenient for me. So, let's begin.
1. Iron sleeves and cuffs
Ironing the sleeves of a shirt is, in my opinion, the most difficult task, so start the best with it. Sleeves can be sewn in different ways and ironing is easier or more difficult. Take the sleeve along the seam and place it on the ironing board. Try to flatten the underside of the sleeve so that there are no strong wrinkles under the top layer of the fabric. I am right-handed, so it is more convenient for me to put the shirt so that the cuff of the shirt starts on the right, and the rest of the shirt on the left. The first step is to iron the sleeve so that no wrinkles remain. Please note that when you have walked along the seam with the iron, you need to move it slightly (imagine that there is a roller in front of you, not a sleeve, and turn this 'roller' a little) and again go through the iron, but this time do not touch the edge sleeves. Then I iron the cuff and place it flat on the ironing board. Carefully work around the buttons and folds that form at the junction of the cuff and sleeve, and do the same for the second sleeve, being careful not to wrinkle the ironed part.
If you have a special stand for ironing sleeves (such a mini ironing board), then ironing the sleeves becomes even easier.
Why do I start ironing from the sleeves, and not like the rest of the Internet from the collar or front of the shirt? The fact is that having ironed the front and back of the shirt, you will then have to fold the already ironed part in order to iron the sleeves. It often happens that the sleeve cannot be ironed the first time (reasons: a cold iron, the water in the iron ran out or we forgot to clean it, a complicated shirt or delicate fabric, just in the morning the hands don't work normally, and so on), and we have to fidget back and forth shirt in order to achieve a good result. As a result, the shirt is wrinkled again and needs to be ironed.
 Ironing sleeves and cuffs
2. Ironing the front and back of the shirt
Start from the part where the buttons are sewn. Position the shirt as shown and iron the shirt thoroughly, paying attention to the area close to the collar so that this part is visible from under the tie.
Attention! Gently iron around the buttons. Do not iron the buttons themselves, they may melt (if you choose not to twist the shirt).
Next, drag the shirt so that you have the back of the shirt (usually half of the back or eee2 / 3). Iron the entire area, focusing on the area around the shirt collar. I recommend not ironing on synthetic patches and labels. If the iron is hot, the edge of the label may melt a little, and then harden and scratch your neck if you do not wear undershirts.
After ironing the back of the shirt, move to the front of the shirt, where there are no buttons (this is usually the right side of the shirt). Carefully iron the chest pocket area and the pocket (if applicable). Again, iron the area around the collar well.

Ironing the front and back of the shirt

Ironing around the buttons, not on them
3. Iron the shoulders of the shirt
The next step is to iron the shoulders of the shirt. To do this, place the shirt on the narrow part of the ironing board so that only the left or right shoulder can be ironed. Try to reach difficult areas with the tip of the iron so that no wrinkles remain. Once you're done with one shoulder, move on to the second.
 Ironing the shoulders of the shirt
4. Iron the shirt collar
If you forgot to remove the bones from the collars (this is done before washing), then remove the bones now. It happens that they have a collar sewn in, then don't do anything with them. Fold out the collar of the shirt with the inside facing you. Try to get rid of all the folds at the corners of the collar, as this is the part that catches the eye of the people around you first.
 Ironing the collar avoiding creases
5. Checking the folds and hanging the shirt
See if there are any wrinkled areas on the shirt. If everything is ok, hang it on a hanger and place the shirt in your closet.
A few tips
- If you are unsure of the type of fabric your shirt is made of, always start ironing at a low temperature. Perhaps you will spend a little more time ironing, but you will not burn it.
- Always iron around the buttons, not over the buttons. Even if the buttons are under the fabric (in case the shirt is inside out), still go around the buttons when ironing.
- Do not iron a dirty shirt if it has not been washed. If you iron the stains on your shirt, it will be extremely difficult, if not impossible, to wash the shirt later.
Cleaning the iron
If you, like me, have hard water at home and constantly accumulate mineral deposits in the iron, then I recommend cleaning it sometimes. To do this, pour a solution into the water tank: 1 part – water, 1 part acetic acid. They say it can be alkaline acid, but the concentrate will be much more expensive than plain table vinegar (vinegar concentration is about 70%). Pour in the solution, heat the iron and place it on the ironing board with the soleplate down, so that the steam comes out from under it. When all the water runs out, see how much dirt has accumulated in the iron. Repeat the procedure if necessary. To prevent this from happening, fill with purified water if you have a flow filter or bottled water, if possible.
Knowing how to iron a shirt correctly, you will never be afraid of a mountain of wrinkled shirts. Practice a little by ironing a couple of dozen shirts, and the time spent ironing one shirt will be reduced to insignificant 3-4 minutes. To slightly diversify the process of ironing wrinkled shirts, parallel watching TV or listening to the radio will help. I hope you have the patience to learn this easy, but essential skill.