Bathroom wall cladding with plastic panels is a budget finishing option, cheaper than ceramic tile cladding, but it has its own advantages. Our experts in the field of construction and renovation have analyzed the advantages and disadvantages of this kind of finishing and have developed step-by-step installation instructions, which can be done in two ways.
Pros and cons of plastic panels
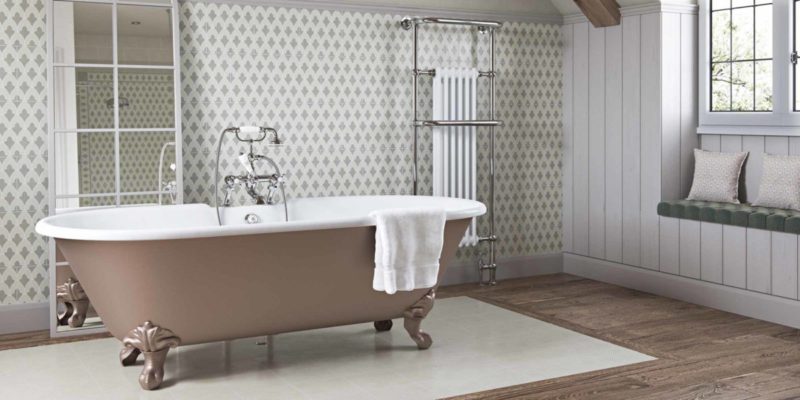
The advantages of cladding a bathroom with plastic panels include:
-
significantly lower cost of both the material itself and the finishing work in comparison with facing with ceramic tiles;
-
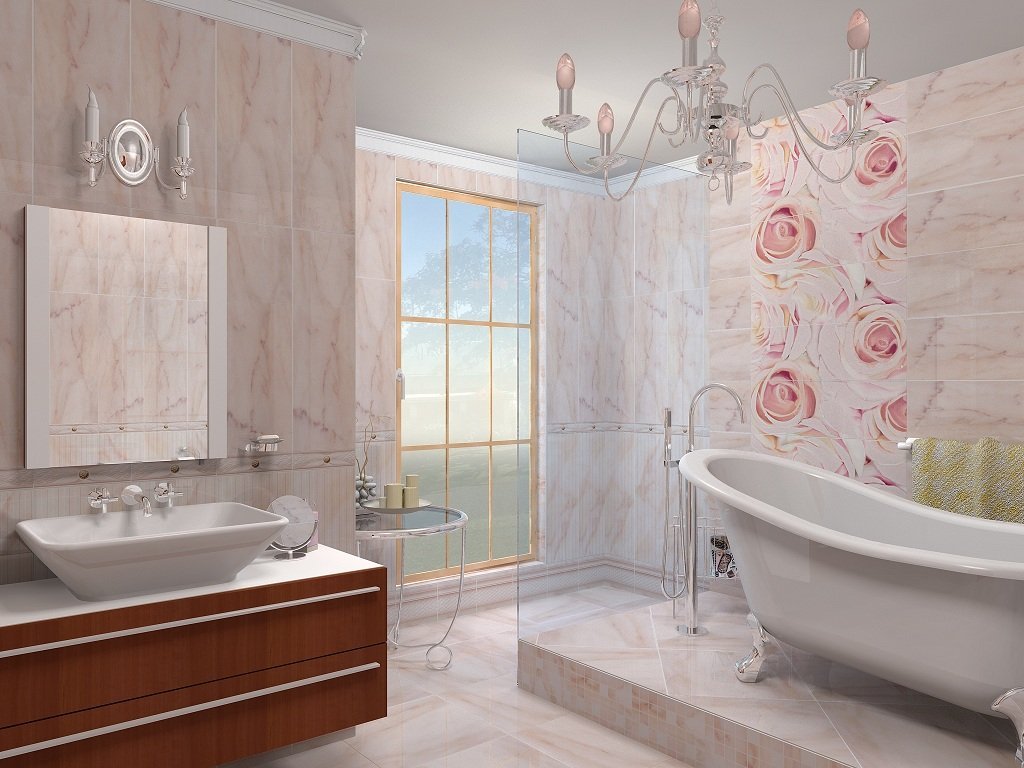
a large selection of colors and textures. Manufacturers produce many types of this finishing material in rich colors, with imitation of the texture of natural materials, with embossed patterns, a smooth or matte surface, up to design using photo printing;
-
high heat and sound insulating qualities;
-
ease of installation – the cladding can be done by a layman with basic do-it-yourself skills;
-
the ability to hide the layout of communications under the cladding, which cannot be done when facing with tiles;
-
during work, a lot of waste, dirt and debris are not generated, which is typical for tiling work;
-
plastic products are durable – resistant to constant exposure to moisture and water vapor, are not subject to corrosion, the harmful effects of microorganisms – fungus and mold;
-
the cladding can be easily cleaned with household detergents or just water;
-
the products are environmentally friendly – they do not emit any substances harmful to health at normal temperatures;
-
the cladding is easily repaired – in case of damage, its individual elements are simply replaced.
The disadvantages include:
-
weak resistance to mechanical stress, but this drawback is offset by the ease of repair;
-
release of toxic substances during fire;
-
reducing the area of the bathroom when installing cladding on the frame.
We see that there are many more advantages than disadvantages, which makes this option for decorating bathrooms quite acceptable and popular among developers.
What are plastic panels
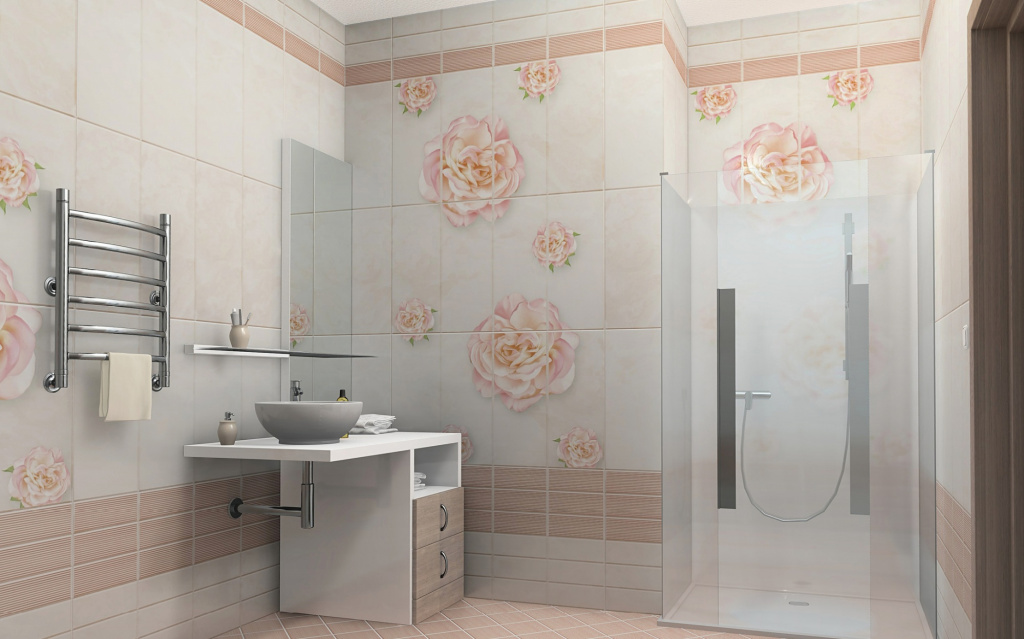
Plastic panels that can be used for bathroom decoration are made of PVC (polyvinyl chloride polymer mass) in two types:
-
rack – in the form of a lining with a length of 3 m, a width of 100-125 mm;
-
standard – in the form of products in the range of 2.6 – 3.0 m in length, 250-370 mm in width.
Both the slatted and standard panels are equipped with tongue-and-groove locks that allow you to quickly and easily connect them together.
What tools will you need to work
Facing work is carried out using the following tools:
-
electric drill or hammer drill;
-
screwdriver and screwdriver;
-
hacksaws for wood and metal;
-
construction knife;
-
construction stapler;
-
tape measure, level, plumb line, marker;
-
hammer.
Installation instructions for plastic panels in the bathroom
Facing can be done in two ways – with a frame device and a frameless method.
Installation of panels on the frame
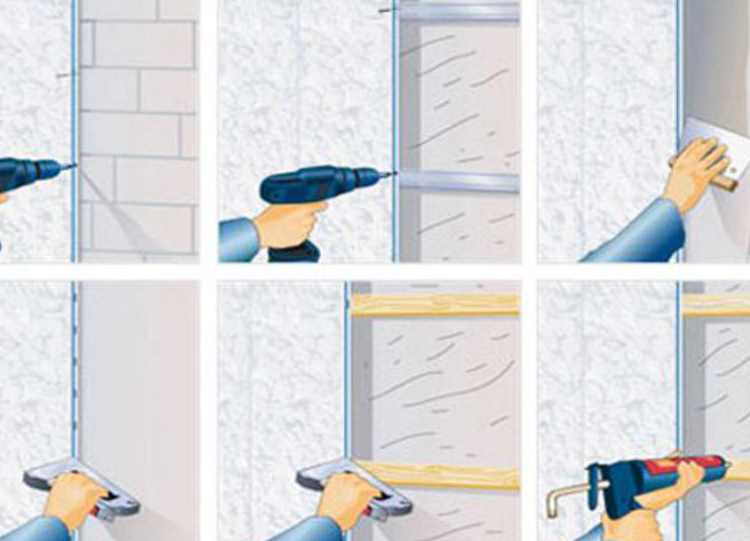
The frame for cladding can be made of different materials – wooden beams with a section of 40×40 or 40×25 mm, steel galvanized U-shaped profiles, which are used when installing suspended ceilings or wall cladding with plasterboard sheets, as well as plastic profiles.
Facing with a frame device includes the following operations:
-
Surface preparation, which consists in cleaning the walls from dirt and leveling, since any irregularities will cause difficulties with installing the frame and will affect the quality of the subsequent cladding device. The walls are leveled with cement-sand or lime mortar plaster.
-
Also, all work on the replacement of water and sewer pipes, the wiring of electric lighting networks must be completed.
-
Protection against the effects of microorganisms. A closed space is formed between the cladding and the walls or ceilings, which will be constantly moistened, which will create a fertile soil for the development of harmful microorganisms – mold and mildew. To avoid this, the walls are treated with a special bio-protective primer. In the case of a supporting frame made of a wooden bar, it is also subjected to processing with a complex fire retardant composition, which, in addition to antibacterial properties, is able to prevent wood from burning.
-
Installation of the frame. First of all, vertical posts are installed in the corners and in the frame of the door, then transverse slats along the ceiling and plinth. The frame strips are attached to the walls using dowel nails. To adjust the exact position vertically between the surface of the walls and the racks, trim pieces of timber are placed. The correctness of the installation is controlled using a level and a plumb line. After the installation of the frame frames along the perimeter of all walls, a cord is pulled between the extreme posts and intermediate posts are installed along it after about 500-600 mm. Then, horizontal slats are mounted every 400-500 mm in height. The slats and strips of the frame are connected together with self-tapping screws.
-
The greatest difficulty in installing the frame is caused by the device bypassing risers and pipelines of water supply and sewerage.
-
Installation of plastic moldings – special profiles, into the grooves of which the ends of the facing panels are inserted. Moldings – ceiling and baseboard, external and internal corners – are installed around the perimeter of each wall. These profiles are attached to the metal slats of the frame with self-tapping screws, to wooden beams – with a construction stapler.
-
Mounting. Installation begins with installation in one of the far corners of the starting panel, which is wound with a narrow mounting shelf into the groove of the corner molding, the upper and lower edges into the ceiling and baseboard moldings, the other side with a wide mounting shelf is attached to the frame rails with self-tapping screws. Further, a spike is inserted into the groove of the starting panel and is also attached with the other side to the frame with self-tapping screws. The installation of all the following products is carried out in exactly the same way. The last panel in the row is inserted with force so that it enters with one side into the groove of the penultimate panel, with the other side into the corner molding, and with the end edges into the upper and lower ceiling and baseboard moldings.
Professional advice:
-
panels and moldings are easily cut with a hacksaw for metal, as well as with a construction knife;
-
before starting the facing work, all plastic products should be kept at room temperature for at least a day to avoid deformation;
-
it is better to place the panels in the bathroom vertically, since in this position the water will flow down more easily than when placed horizontally;
-
in order to bend the panel, it is enough to make a cut from the back side along the entire length or cut out a part of the covering within one or two stiffeners.
Installation by frameless method
Installation without using a frame is carried out in the following order:
-
Preparatory work. Surface preparation consists in cleaning from dirt and leveling the walls. Moreover, in this case, the alignment of the walls must be done more carefully than for the cladding option on the frame. Irregularities of no more than 3 mm in height are allowed. After leveling with plastering and puttying, the surface of the walls should be primed with a bioprotective primer, since in this case there is also a risk of harmful microorganisms appearing under the panels.
-
A launch pad sticker that will define the position of everyone else. Therefore, for its accurate installation, markings are applied to the wall and dowel-nails or self-tapping screws are hammered from above and below for optimal fixation. The best material for fixing the panels is liquid nail glue, which is highly resistant to moisture. The starting panel is cleaned of dust and dirt from the back with a damp cloth, after the surface has dried, glue is applied to it in zigzag strips and applied to the wall.
Important! The technology of gluing with liquid nails is that after pressing the panel against the wall, after a minute it should be torn off, held in this state for 5-6 minutes, and then set back to the design position. This technology is provided specifically for the version with liquid nails.
The installation of the remaining panels is carried out in the same way – an adhesive composition is applied to the back side, then the product is pressed against the wall, torn off and, after holding for 5-6 minutes, is set to the design position with a spike inserted into the groove of the previously installed panel.
Corner and abutment design. In this variant of cladding, it is not necessary to form corners and abutments using moldings with a complex profile, having grooves for inserting the edges of the panels. You can do it by sticking ordinary plastic corners on the silicone sealant.
-
panels and moldings are easily cut with a hacksaw for metal, as well as with a construction knife;
-
before starting the facing work, all plastic products should be kept at room temperature for at least a day to avoid deformation;
-
it is better to place the panels in the bathroom vertically, since in this position the water will flow down more easily than when placed horizontally;
-
in order to bend the panel, it is enough to make a cut from the back side along the entire length or cut out a part of the covering within one or two stiffeners.


