It is not uncommon for tiles to be damaged or peeled off the floor during use. Many people mistakenly consider this problem too serious and requires a complete replacement of the coating. In fact, everything is much simpler – a failed element can be removed without any problems and replaced with a new one. The main thing is to know how and how it can be done. Our experts will tell you.
Reasons for coating breakage

Peeling of floor tiles is a fairly common phenomenon, which often occurs due to non-compliance with the technology of laying such a material. Sometimes there is a lag of several or even one element, which is associated with a significant load on a certain area of coverage. To correctly fix the problem, you must have a correct understanding of its causes:
-
Low-quality adhesive – if the tile vibrates when walking on it, and the adhesive was applied to its entire surface, this indicates a problem with the glue. Perhaps the product was of inadequate quality (low grade, expired), or the composition was incorrectly selected. For example, glue mastic cannot be used to install tiles near areas with temperature changes (fireplace), since it will harden and simply stop holding the coating.
-
Voids – appear in case of insufficiently strong fixing of an element to the floor. With prolonged exposure to a poorly installed element, it will detach. Before laying the tiles, it is necessary to cover more than 85% of its surface with glue, otherwise it will soon peel off the floor.
-
Poorly prepared base – if the tile element lags behind the working base along with the glue, the problem is in the insufficiently cleaned surface, which could not provide sufficient adhesion to the glue.
-
Quick Dry Mix – If the tile has come off the floor with the adhesive but the work surface has been properly prepared, the floor leveling mix (if used) may be the problem. The fact is that quite often such products include polymers that reduce the quality of adhesion of the floor with cement-based glue. In this case, it is necessary to use the composition on a different basis.
-
Moisture penetration – this option is possible with an illiterately applied grout or poorly dried surface before laying the finishing material.
Replacement technology
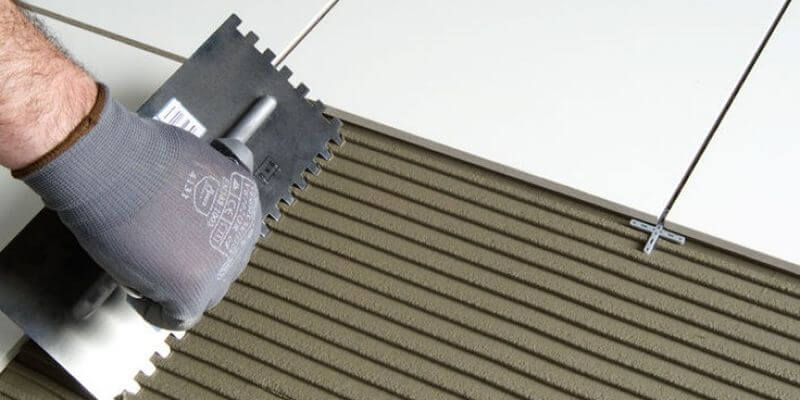
To replace a damaged or loose element, a series of tools, glue, a new element and grout must be prepared. The replacement process is simple in itself, but it will require a fair amount of diligence and care.
Preparation of tools and materials
The choice of a suitable tool depends directly on the type of work surface on which the finishing coating was laid. For concrete / masonry subfloors and tile adhesives, the following tools are suitable:
-
a hammer;
-
spatula or flat screwdriver;
-
scraper (to clean the seams);
-
electric drill;
-
warm water and a kitchen sponge.
For a floor that was leveled with a cement screed, and the tiles were attached to it with cement glue, several other tools should be prepared:
-
impact screwdriver;
-
stone disc;
-
large hammer;
-
warm water and rags.
Tile removal process
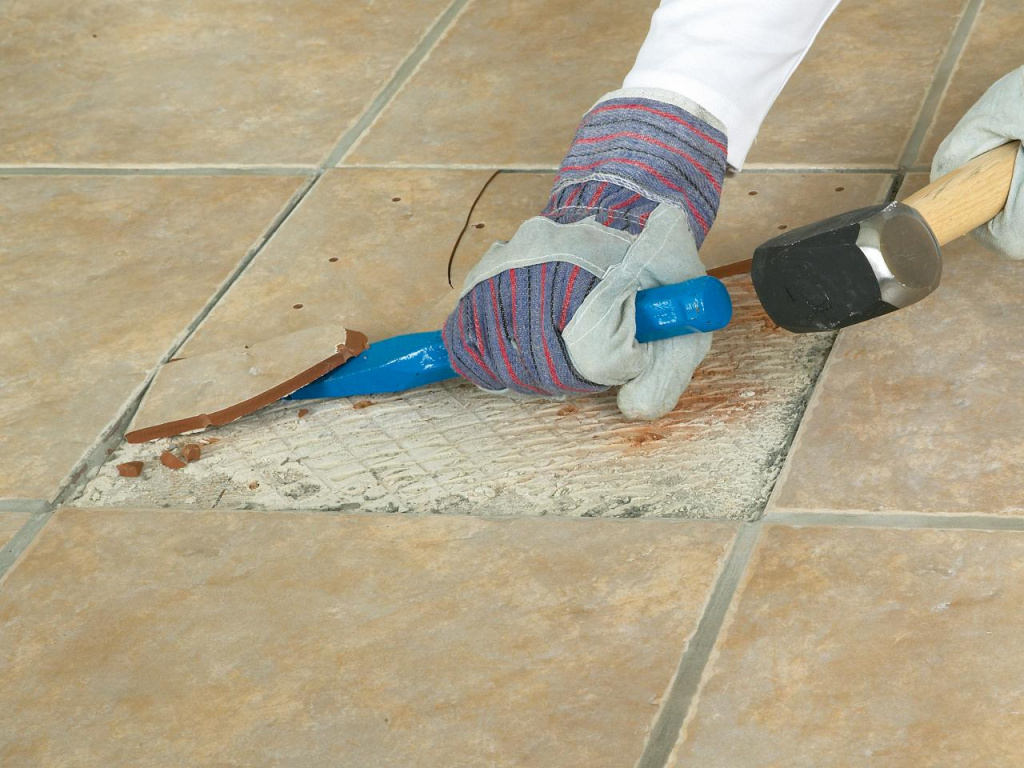
The technology for removing damaged and intact tiles is somewhat different. Let's consider both options. The first is how to replace a damaged one:
-
We remove the grout. The first step is to clean the area around the damaged element. But first, to protect the adjacent elements, cover their edges with protective tape. Use warm water and a sponge to remove grout. Moisten the latter liberally with water and rinse the seams thoroughly until they are loose. Then carefully remove the remnants with a scraper.
-
We remove the tiles. Draw diagonals on it using a pencil / chisel. Mark the row of holes with a core punch along the marked diagonals. Carefully drill holes in the tile element using a low speed drill. Use a chisel and hammer to make a solid line from the holes. Now you can gradually chip off the damaged element, moving from the center to the edge.
-
We clean the surface from the glue. An important stage, since a surface that is insufficiently cleaned of the old adhesive will not provide high-quality adhesion to the new tile. Use a metal spatula to remove old adhesive.
-
We apply an adhesive. An important point is the choice of a suitable glue. For small tiles in the kitchen / bathroom, it is best to use a water-borne cementitious adhesive. For large formats, as well as surfaces with an installed 'warm floor' system, more 'powerful' compounds (for example, two-part epoxy aggregates) are preferred. After you have picked up the glue, you can start applying it. The appropriate amount of product is applied according to the manufacturer's instructions.
-
We fix the tile. Before placing the tile element on the prepared surface, it must be immersed in water for several minutes. This will help improve traction. Remove the product from the water and press firmly to the surface. It is best to apply grout no earlier than a day after working with the tiles. Use a special rubberized spatula for these purposes.
The removal of a whole tile for its further use occurs according to a different scheme:
-
Preparatory stage. Use warm water and a sponge to loosen the seams thoroughly. Carefully remove the remaining grout with a scraper or screwdriver. If the composition is cement based, you will have to use a turbine – very carefully cut the seams all the way to the floor. Rinse the work surface thoroughly with water after this process.
-
Removing the tile element. Using a wide chisel and a small hammer, gently tap the trim piece along the contour. Try to pry off the tiles so you can remove them. When, upon impact, the sounds become deaf, this indicates that the tiles can already be safely separated. Use a spatula for these purposes.
-
Removing the glue. If a spatula is not enough to remove the remnants of glue, cement and other building compounds, you will have to resort to special means. These can be acid-based products (to remove glue), as well as cement-dissolving compounds. A grinder with a steel round brush attachment is also suitable.
The process of laying a new tile (or the same cleaned one) on a carefully prepared surface is identical to the technology described in the previous case.


