Ceramic tiling is the most popular and widely used option for finishing a bathroom. At the same time, upon completion of the cladding work, for the complete arrangement of the bathroom, holes have to be drilled in the walls in order to hang cabinets, shelves, install water supply taps, heated towel rails, sockets, switches, etc. Ceramic tile is a fragile material, therefore, if the drilling technology is not followed, there is a high probability of cracks and chips in the cladding, after which the damaged coating has to be restored.
Our construction experts have taken a detailed look at the drilling technology in tile cladding and the tools used to help you avoid common mistakes.
Tools
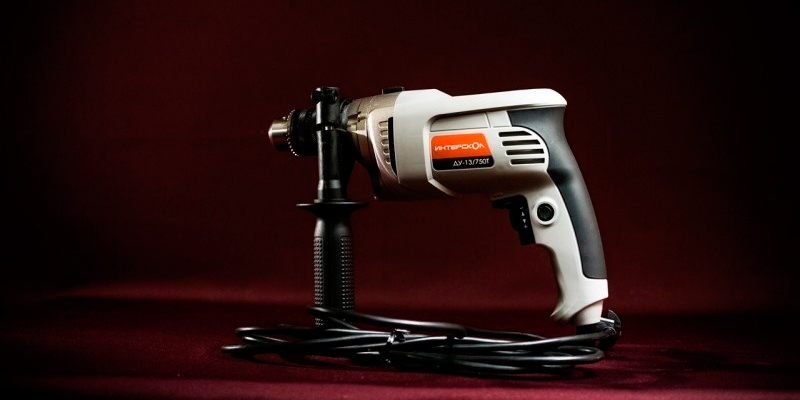
The following tools are used to punch the ceramic veneer:
-
hand drill or brace – a tool of a simple design, including a box with handles for rotation and holding, a shoulder rest and a chuck for inserting a drill. A hand drill can drill a small number of small holes up to 10 mm in diameter;
-
an electric drill is an electrically driven tool capable of operating from a 220 V mains supply or from a built-in rechargeable battery. A high-quality tool suitable for drilling a tile cladding must have a speed control function;
-
The hammer drill is a powerful tool for punching stone and concrete structures due to a special operating mode in which drilling is combined with the impact movements of the drill. The hammer drill can be used for drilling in tiles only in non-impact mode, that is, as an electric drill;
-
screwdriver – a power tool for driving screws, powered by a built-in battery. The screwdriver can operate in the mode of an electric drill with adjustable speed, which allows you to drill a tile facing.
Consumables
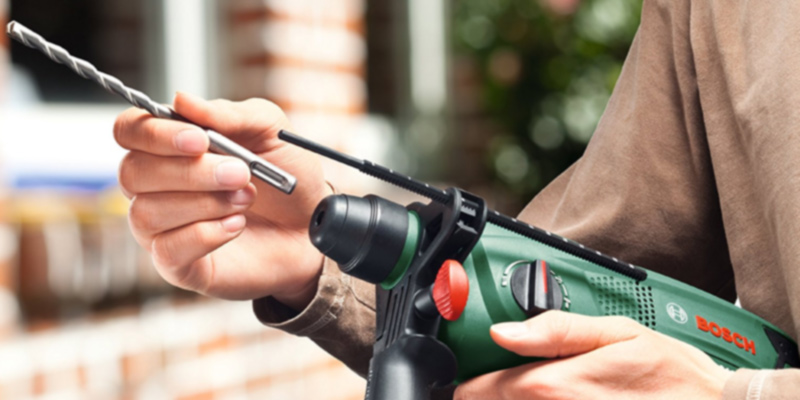
For punching tiled facing, the tools are equipped with consumables – drills of various types:
-
drills for narrow purposes – ceramic punching. These drills are equipped with cobalt-tungsten alloy lance tips. They can be with a two-bladed or four-bladed tip, which is sharp enough to do without preliminary punching of the drilling site. To secure the drill, lightly strike the back of the power tool with your hand. With the help of drills of this type, you can punch holes up to 12 mm in diameter, intended for the installation of dowels for mounting equipment;
-
drills equipped with a diamond-coated working part are more expensive, but also more durable. Holes up to 30 mm in diameter are punched with such drills;
-
drills equipped with victorious carbide steel tips, which are also used in drilling metals, concrete and stone. Pobeditovy drills work with a hammer drill with switching to a shockless mode, or with an electric drill at a rotation speed not exceeding 800 rpm. After drilling the tiles, you can switch the tool to impact mode and punch further into the concrete or stone base. A distinctive feature of such drills is the acute-angle one-sided sharpening of the tips, due to which the tool is easily immersed in the surface of the material without chips and cracks. Hole diameter – up to 12 mm;
-
ballerina drills – their design includes a main central drill and an auxiliary one with a flat cutting surface, located on an adjustable bar, with which you can set the desired hole diameter – up to 90 mm;
-
with a tip in the form of a crown – a cylinder with a cutting edge and a drill in the center, which fixes the drilling site. The cutting working part is coated with abrasive – diamond or tungsten carbide dusting. Punching diameter – up to 160 mm.
Drilling technology
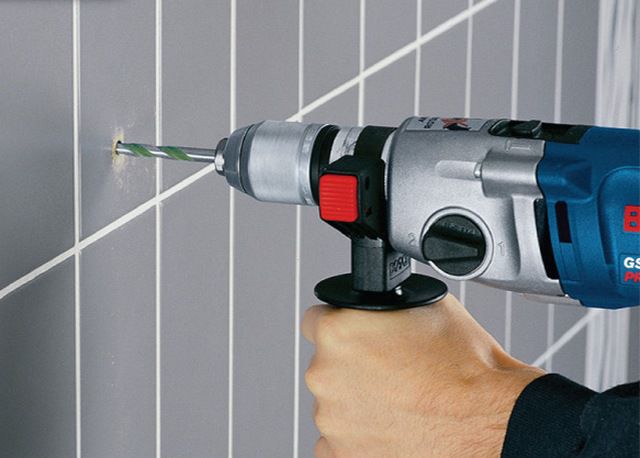
Important! Tap the cladding lightly before drilling. With a dull and dense sound (this means that the tile fits snugly to the base), you can start punching a hole without fear. If the sound is sonorous, then drilling must be done with special care, since the tile does not fit tightly and can crack with strong pressure.
Drilling technology consists in the sequential performance of the following operations:
Finding the right drill. For small-diameter holes intended for the installation of dowels, drills with spear-shaped and carbide tips are used. For releases of plumbing fixtures or electrical wiring – drill bits or ballerinas;
Marking the punching site, which can be carried out in three ways – by punching, sticking masking tape (tape) or marking with a marker:
-
by punching on the lining with a large dowel or self-tapping screw, make a cone-shaped recess, into which the drill tip is then installed;
-
masking tape (scotch tape) is glued to the surface of the facing and the center of the punching is marked on it with a pencil or felt-tip pen. Masking tape prevents the drill from sliding off the piercing point;
-
when marking with a marker or text correction pen, the applied layer of paint also helps to hold the drill at the piercing point.
Installing the matched drill into the power tool holder and adjusting it. If they work with a hammer drill or an electric drill, then it is necessary to turn off the impact function and set the minimum speed, turn off the reverse mode on the screwdriver, because the tile may be damaged during reverse rotation.
Drilling. Keep the tool perpendicular to the wall, start work at minimum speed, as the drill sinks in, gradually increase the rotation speed, but without strong pressure. After drilling the entire thickness of the cladding, it is necessary to go deeper into the base to install the dowels. If the power tool has a drill bit suitable for punching stone and concrete, switch the tool to impact mode and continue working. If a drill was installed for working with ceramics, then you need to replace it and continue piercing.
After punching the hole, you need to clean the surface of the cladding from dust and debris, and you can install a dowel or other equipment.
Advice:
-
the best option for installing dowels is in the joints between the tiles. In this case, you need to ensure that when drilling, in order to avoid chipping the edges of the tiles, the center of each hole is exactly in the middle of the seam;
-
the holes must not be placed closer than 20 mm to the edge of the tile, as this may also cause splitting of the edges;
-
when working at low speeds, the drill and the tile itself will heat up, so the punching site needs to be moistened with water from time to time;
-
For a perfectly accurate fixation of the tool at the punching site, it is best to use the factory jig-fixing device, installed on the wall surface using a suction cup. The fixator has holes with different diameters through which you can drill with maximum precision and convenience.
Other punching methods
Other methods of drilling are used, which are used in the absence of the necessary tools or drills with a suitable diameter.
-
Large holes, without the use of drill bits, can be made using small drills, which are used to repeatedly pierce the inner perimeter of the marked circle. Then part of the tile is carefully knocked out, the formed teeth are broken out with pliers and the remaining irregularities in the edge are sanded with a file.
-
Large holes can also be cut using a grinder – an angle grinder ('grinder') with a working disk with a diameter of 11.5 cm. The tiles are cut not on the wall, but on a flat horizontal surface, after moistening with water and securing with a clamp or tape. The operation can be performed with straight cuts, for example, first cut out a square inscribed in a circle, then break off the remaining edges with pliers and grind the irregularities with a rasp.
-
A hole of any shape can be cut using a metal hacksaw, for which diamond-coated steel strings are used instead of a regular hacksaw blade. First, one small hole is drilled in the tile, then it is fixed at the edge of the working table with a clamp, the string is passed through this hole and fixed in a hacksaw, after which a cutout of the desired shape and size is cut.


