The NPAPI plugin building interface was developed in the mid-90s of the last century by Netscape Communications. Due to the ease of interacting with various types of data, the technology quickly became popular, and its support was implemented in other browsers. However, it was the ability to directly work with external content that became the main vulnerability of NPAPI. The plugin could not be launched as a process isolated from the browser code, which led to its increased vulnerability. Starting with version 42, released in 2015, Google moved Chrome to use the more progressive Pepper API extension format. Support for old plugins was forced on for some time until it was completely 'cut' from the browser code. Our experts recommend making sure that you can't do without using NPAPI and only then proceed with further actions.
Installing Group Policy
Before replacing the installed current version of Chrome with an outdated version, we will carry out preparatory work.
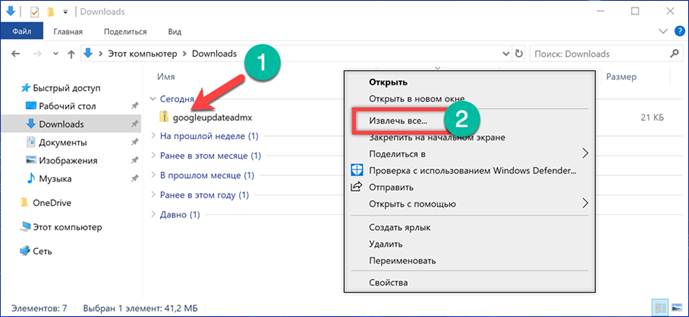
We go to the Google servers and download the group policy rules regarding browser refresh. The resulting file is a ZIP archive. We find it in the 'Downloads' folder and call the context menu. We select the item 'Extract all'.

We indicate the desktop as the unpacking location by selecting it in the quick access menu. Press the button 'Select folder'.

In the opened window of the archiving utility put a tick in the place indicated by the arrow. As a result, immediately after extraction, the files will be displayed in a new Explorer window.

The folder created on the desktop contains two administrative templates and a folder with localization files.

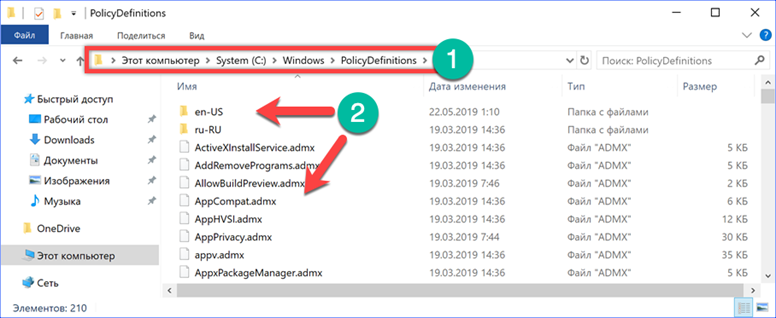
We open another Explorer window. Go to the system directory in it, located at 'C: \ Windows \ PolicyDefinitions'. Predefined administrative templates and localization files for them are stored here. Copy here the contents of the 'GoogleUpdateAdmx' folder located on the desktop, while placing the language pack into the 'en-US' directory of the same name.
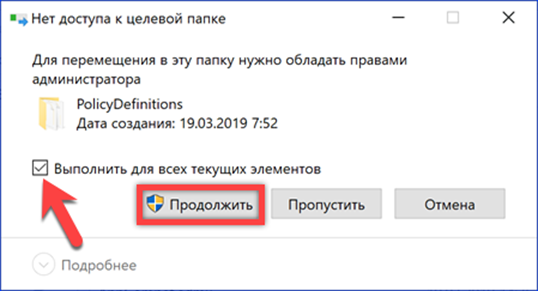
Administrative rights are required to write new items. In the window that appears, we put a check mark in the place marked with an arrow, thus allowing the system to copy two files at once. Click 'Continue'.
Loading an old browser version
Google does not store old distributions of the browser in the public domain, posting only the current assembly on the official website. You will have to search for previous versions of the browser with NPAPI support on the Internet. Our experts used the IDEAProg.Download page, which contains several dozen different Chrome installers.
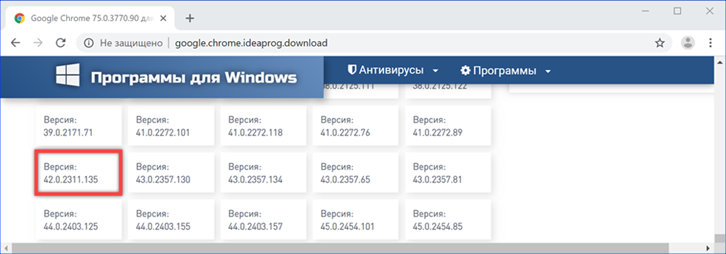
By clicking on the above link, we get to the page dedicated to the browser developed by Google. Scroll through the general description of features to the item 'Previous versions'. Click on the 'Show more' button.

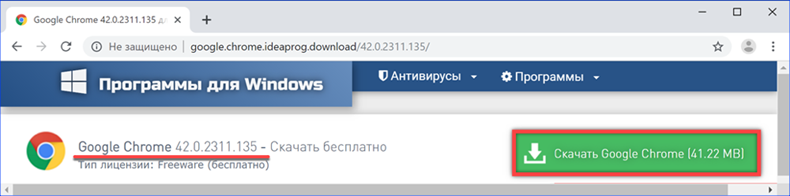
For testing, we chose build 42.0.2311.135, starting with which NPAPI support was implemented as an additional option. Click on the link highlighted by the frame.
In the updated browser tab, we get to the download page of the selected assembly. Click the button indicated by the frame in the right part of the window. A standalone installer of the 32-bit version of Google Chrome will be loaded on the computer, suitable for installation in an operating system Windows of any bitness.
Configuring Group Policy
After the old browser assembly has been loaded and its number has become known, we will configure the previously installed administrative templates.
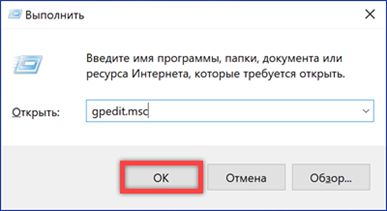
We call the 'Run' dialog box with the keyboard shortcut 'Win + R'. We type in the text box 'gpedit.msc'. Click on the 'OK' button or use the enter key to launch the Group Policy Editor Windows.
Select the 'Computer Configuration' section and then sequentially expand the contents of the directories: 'Administrative Templates' -> 'Google' -> 'Google Update' -> 'Applications'. In the latter, find and open the 'Google Chrome' folder. The four available actions will appear on the right side of the window. Select the 'Target version prefix override' item and double-click to open the settings menu.

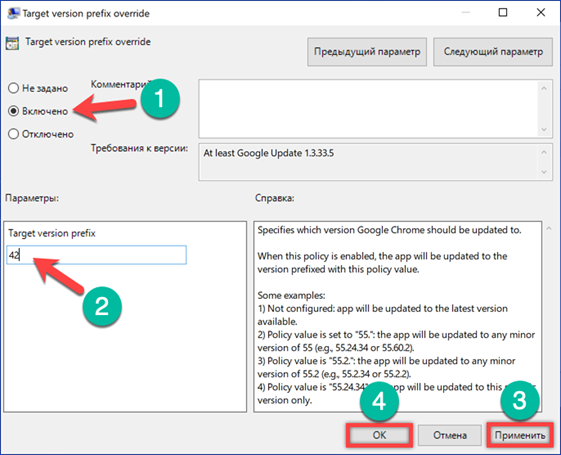
Set the switch shown by the number '1' to the 'On' position. Below, in the 'Options' window, the 'Target version prefix' text field is activated. We indicate in it the first two digits of the downloaded browser assembly number, in this case it will be 42. The changes made prevent Google Chrome from downloading and installing versions with a number higher than the specified one. We successively press the buttons 'Apply' and 'OK' at the bottom of the window. The first one writes the changes made to the policy, and the second one closes the settings.
Removing Chrome
Having finished with the preliminary preparations, we proceed to replace the current version of the browser.
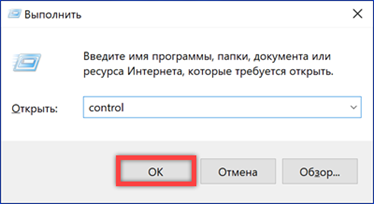
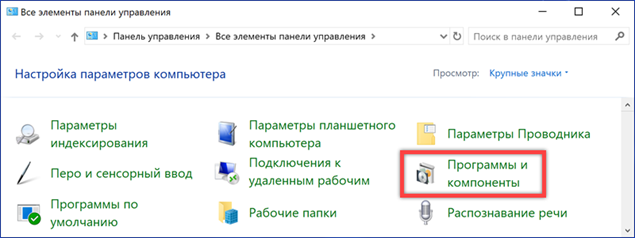
Call the Run dialog box and type 'control' in the text field. Click 'OK' to launch the classic control panel.
In the general list of settings, we find and open the 'Programs and Features' section, indicated in the screenshot by a frame.
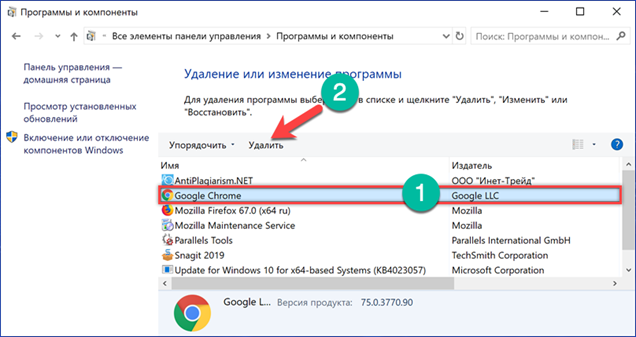
Select with the mouse Chrome in the list of software installed on the computer. On the control panel, the button indicated by the arrow is activated. Click it to remove the browser.
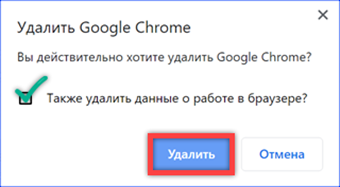
In the pop-up window, set the checkbox shown in the screenshot. Press the 'Delete' button to confirm the decision. At the end of the process, launch Microsoft Edge, with a Google questionnaire. The user will be asked to indicate the reason for deleting the browser. We answer at will, or simply close the window and proceed to the next step.
Installing an older version of the browser
The standalone installer downloaded in the previous stages of preparation does not require an Internet connection. Disconnecting the network will have to owners of versions Windows 10 Home, which do not have a group policy editor and, accordingly, a ban on browser updates.
Launch the browser installer and wait until it finishes working.

We close the welcome window and proceed to further configuration, which will block the automatic update to the current version.
Correcting the registry
Owners of Windows 10 Pro who have configured Group Policy Editor can skip this step and go directly to the next.
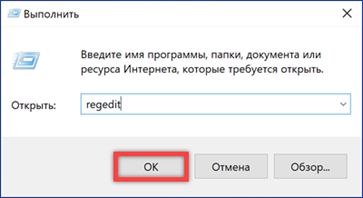
Open the Run dialog box. We type in the text box 'regedit'. Press the enter key or the 'OK' button shown in the screenshot, starting the registry editor.
Expand the HKLM branch, opening the SOFTWARE section. Go to the Policies folder and select it and call the context menu. Expand the 'Create' item. Select the 'Section' in the drop-down list. The resulting folder is named 'Google'.

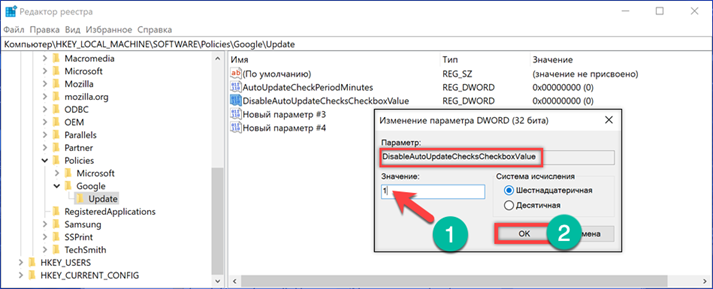
We repeat the operation for the newly appeared new section. Create a subfolder named 'Update' in it. Having selected it, go to the right side of the registry editor window. Calling the context menu, we create four parameters of the DWORD type (32 bits).

We sequentially assign them the following names and values:
-
AutoUpdateCheckPeriodMinutes, 0;
-
DisableAutoUpdateChecksCheckboxValue, 1;
-
Install {8A69D345-D564-463C-AFF1-A69D9E530F96}, 0;
-
Update {8A69D345-D564-463C-AFF1-A69D9E530F96}, 0.
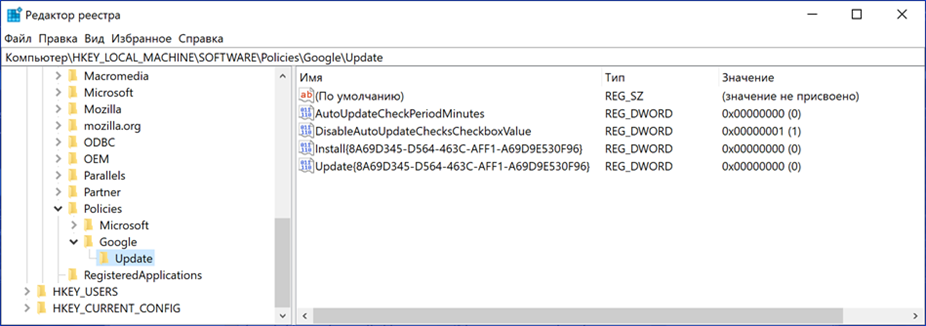
As a result, the contents of the 'HKLM \ SOFTWARE \ Policies \ Google \ Update' section should look like the one shown in the following screenshot.
Disable Google Update Service
We will definitively disallow any attempt by Chrome to contact Google servers to ensure that only the version that was installed is used.
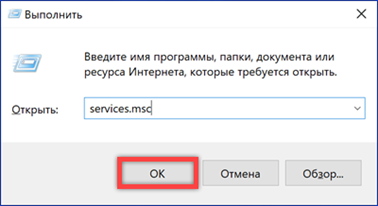
Calling the Run dialog box, enter 'services.msc' in the text field. Click 'OK' to launch the section of the MMC console designed to manage the services of the local computer.
We find in the list two adjacent Google Update services. Select them sequentially with the mouse and double-click to launch the properties panel.
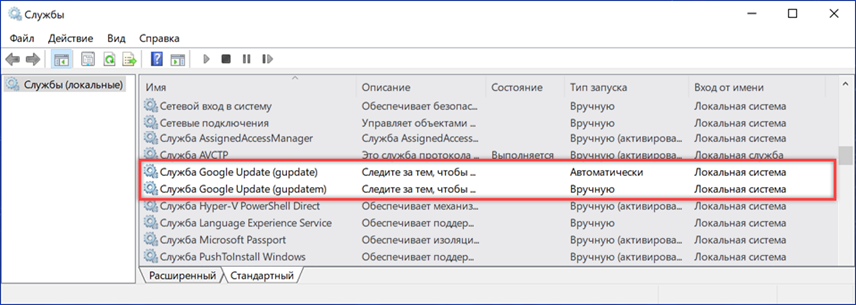
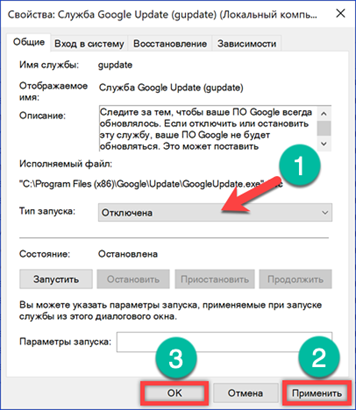
For each service, in the 'Startup type' field indicated by the arrow, open the drop-down menu. Set the value to 'Disabled'. Press 'Apply' and save the changes made and 'OK' to close the properties window. After completing this operation, you can reconnect your computer to the Internet.
NPAPI activation
The steps taken in the previous sections prevented Chrome from communicating with Google's update servers. Moving away to pour coffee, you can be sure that during this time the latest version of the browser will not be installed. It remains only to enable support for NPAPI plugins.
Open a browser and enter 'chrome: // flags' in the address bar. As you type characters, a hint is displayed below and you can select the option highlighted in green by moving the cursor to it. Press enter to open the Chrome Experimental Features page.

We are looking for the item 'Enable NPAPI' in the general list. All inactive features have a light gray background so that you can visually distinguish them from those already enabled. Click on the hyperlink under the item name.
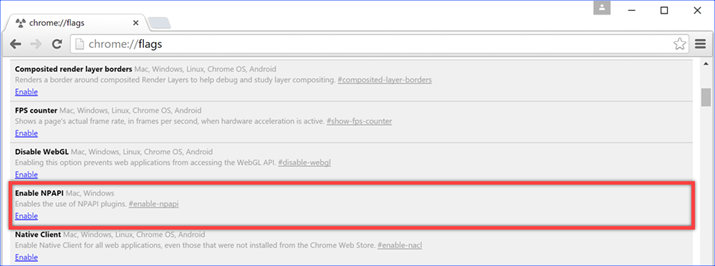
The user is not required to confirm the operation being performed. A sign of enabling support for NPAPI plugins is replacing the gray background in the selected item with a white one.

Enter the command 'chrome: // plugins' into the address bar. Press the enter key to open the page with installed extensions. Click with the mouse on the cross in the right corner of the browser window, next to the 'Details' label.
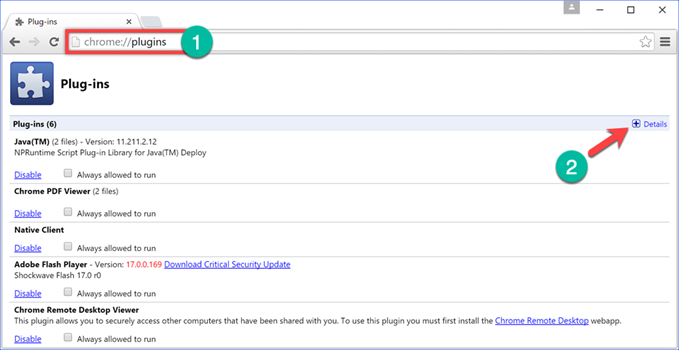
Detailed information will expand in the current tab. The screenshot shows that the Java plugin running in Chrome is of NPAPI type.

Finally
Our experts once again remind of the reason for the developers' rejection of Netscape technologies. A vulnerability that allows plugins to interact directly with content on web pages allows malicious content to be injected directly into the browser code. As a result, the need to work with legacy software that uses NPAPI architecture makes the user look like a person walking in the rain with a sieve instead of an umbrella.


