The search function in Windows 10 is the best it has ever been. Microsoft borrowed the most successful technical solutions existing from competitors and was organically able to integrate them into the new interface. Today our experts reveal its capabilities by showing how to search for files by content.
Start searching files by content
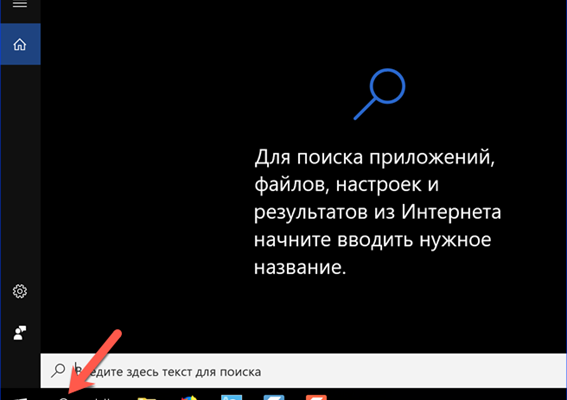
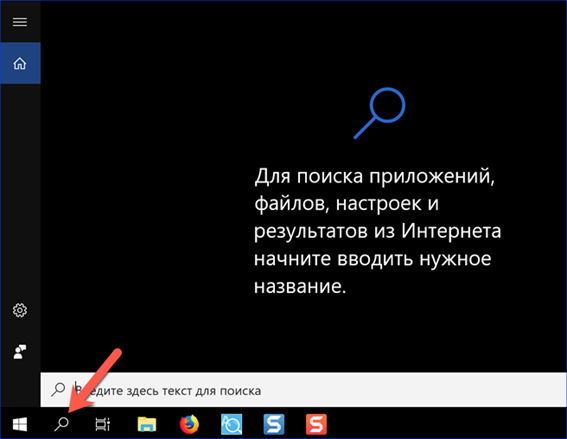
Most users know that the magnifying glass icon located next to the 'Start' button is used to start the search in Windows.
A similar result can be achieved by using various keyboard shortcuts:
-
Win. Pressing the button with the OS logo brings up the main menu. After that, you can immediately start typing the request text on the keyboard. Windows will automatically open the search field;
-
Win + S. A special keyboard shortcut for activating the search window;
-
Win + Q. In English-speaking countries, it launches the Cortana voice assistant. This lady is not yet able to communicate in Russian and does not want to. As a result, this key combination will also open the search field;
-
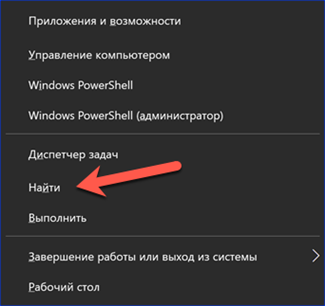
Win + X. Launches the control menu 'Start' with quick transitions to the main OS parameters. There is also the 'Find' item indicated in the screenshot.
Indexing Service
To support the search service, the operating system continuously background indexes of files on the computer. By default, it starts automatically, but it never hurts to check. Numerous 'bad' performance tips often include recommendations for disabling this service.
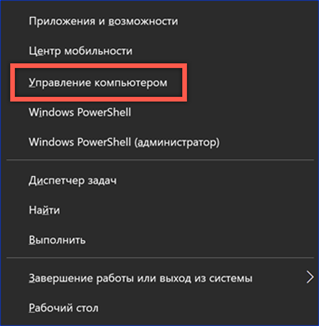
Launch the 'Start' control menu with the 'Win' + 'X' combination. Open the section shown in the screenshot.
In the Navigation Pane, expand the Services and Applications list. We select the parameter that is excellent with the number '1'. In the central part of the window we find the service Windows Searсh. The column 'Status' should read 'In Progress'. If the current value is not specified at all or is indicated as 'Disabled', call the context menu.

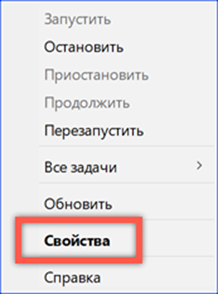
When you right-click on the service line, a pop-up window appears. Select the 'Properties' item in it.
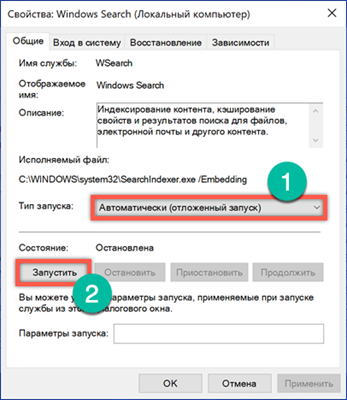
The 'General' tab opens by default. Checking the 'Startup Type' field. The value should be set as shown in the screenshot with the number '1'. We enable the service by clicking on the 'Start' button.
Indexing is performed during idle time, when the user is not performing active actions and does not significantly affect performance.
Setting up indexing
After making sure that the service is running, go directly to its settings.
We type any search query. In the expanded window, click the ellipsis symbol in the upper right corner. Below a pop-up link will appear leading to the indexing options.

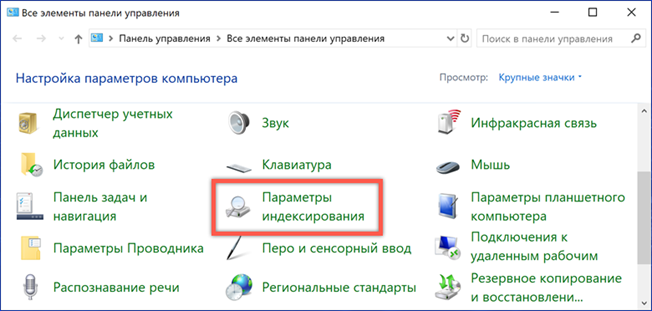
In the classic computer control panel, you can also find the corresponding section, indicated in the screenshot by a frame.
The main options window specifies the locations where Windows will search. By default, this includes the main menu and user directory. Control elements are represented by two active buttons. Let's take a closer look at the actions they perform.

By clicking 'Change', we open the tree structure of the directories monitored by the OS. By selecting custom files at the bottom, you can add or remove folders to be searched.

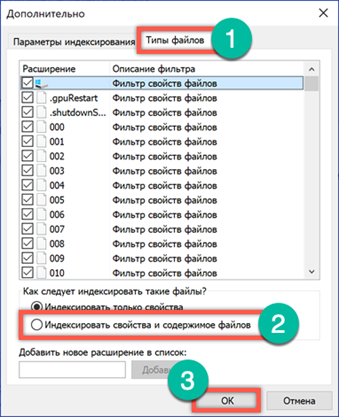
Clicking 'Advanced' open the extended menu. By switching to the 'File Types' tab, you can edit the list of extensions by excluding from it all the little used and rare. The most important feature hidden in this setting is property and content indexing. In the screenshot, the switch that activates it is indicated by the number '2'. Having received the necessary permission, the operating system will be able to search for files not only by name, but also by their content. Since activating this parameter will start the process of scanning the contents of the hard disk again, it will not be possible to fully use the new search parameters immediately.
Selective indexing of content
The operating system allows customization of content indexing. For example, it can be set for any lists or catalogs and canceled for books and working papers.
Open the properties dialog of the desired file. In the 'Attributes' section, click on the 'Other' button.

In the window that appears, set or uncheck the box next to the item indicated in the screenshot. Thus, regardless of the system settings for indexing, you can set the parameters for accounting for the content of a particular file in search results.

Using tags to find files
In order to find files that do not contain text information, such as music, videos or photos, Windows 10 provides a system of tags, tags that facilitate their identification when requested.
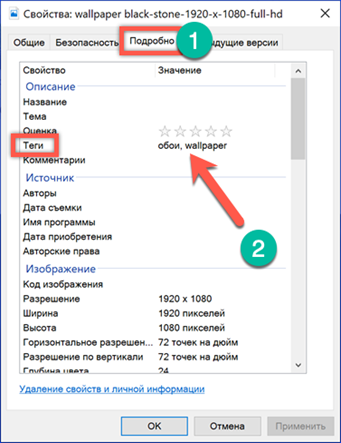
In the context dialog of document properties, open the 'Details' tab. By clicking the mouse opposite the 'tags' mark we enter our own marks. This can be a brief description or an action that needs to be performed. Since the system does not provide for restrictions, the choice of a tag depends only on the user's imagination.
When typing a search phrase Windows, it takes into account user-defined tags, including the documents marked by them in the results.

Find files quickly from the Start menu
A quick search for documents saved on your computer is performed from the main 'Start' menu.
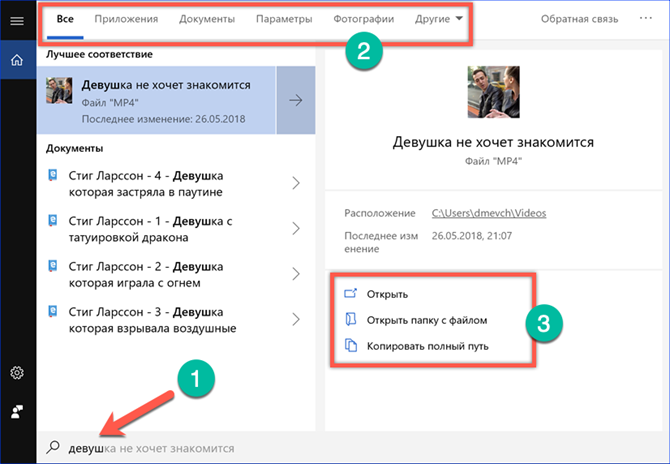
As soon as we start entering text data, the OS picks up the closest matches in the name and displays them on the 'All' tab. At the top of the search box, you can quickly switch between categories. The system will perform additional filtering according to the specified criteria in relation to the selected group of files. In this case, you can filter books from videos by going to the 'Documents' tab. For each file found, a quick action menu is displayed, shown in the screenshot as the number '3'. Above you can see the date when the document was modified or created and where it was stored.
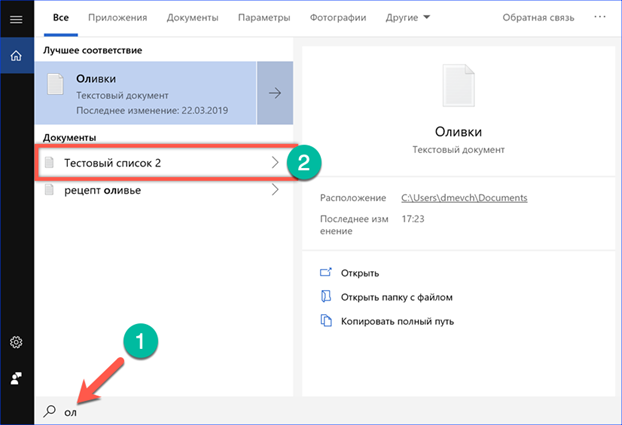
Content indexing enabled adds documents to the list where the system finds a match against the query test. On the screenshot, the number '2' shows a file whose name does not contain the phrase entered in the search field. The search word is contained in the saved text and it is for this reason that it gets into the search results.
Deep Search in Explorer
Explorer allows you to perform deep searches with the specified parameters. It may take much longer to execute, but Windows will find even long-forgotten files as a result.
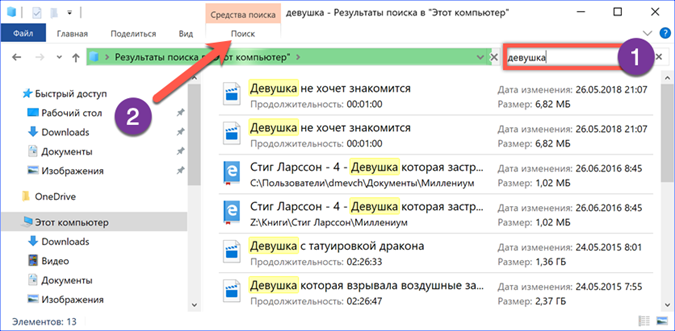
To enter a request, there is a field to the right of the address bar. When the cursor is placed in it, the tab shown by the number '2' is activated.
By expanding the advanced options, you can refine your original request. Start searching for files by a specific type, specified size, or creation date. Having selected the necessary parameters, they can be saved for the future in order to facilitate the search in the future.

Search query options
Explorer provides for the use of logical operators in queries. Thus, you can search for files using various, even not very clear criteria.
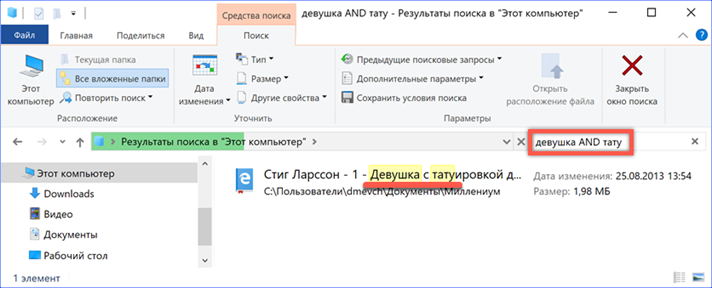
AND is an enumeration function. Searches for files containing the words listed in the query;
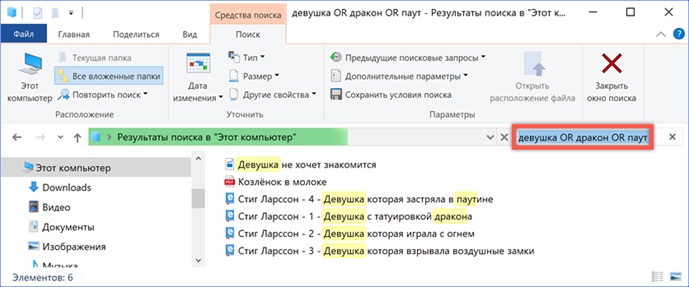
OR – brute force function. Searches for files containing at least one of the words listed in the query;
'' – an exact search function. Allows you to search for files containing only the phrase specified in quotes;

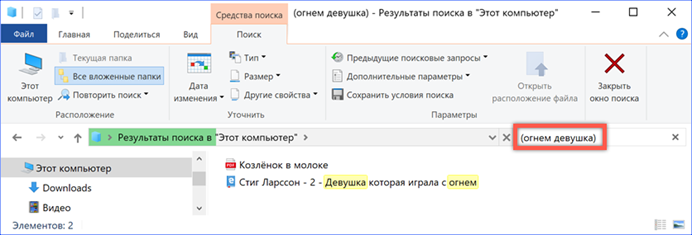
() – sampling function. Selects from all files those in which the words listed in the query are mentioned in any order.
Finally
The tips given in this material will help you find any files on your computer by their contents, regardless of the time they were saved.


